Setting up Neo4j as Graph Database
Setting Up Neo4j with Docker for Data Persistence
To effectively set up Neo4j, we will need to install it using Docker and ensure that the data is persisted on the local disk.
Steps for Installation and Data Import
- Install Neo4j with Docker: We will utilize Docker to install Neo4j, which simplifies the deployment process and allows for easy management of the database environment.
- Data Persistence: To maintain data integrity and ensure that our datasets are not lost when the container is stopped or removed, we will configure Docker to persist the data on the local disk.
Preparing for Data Import: Before we can import our dataset into the Neo4j database, we must prepare the necessary directory structure:
- Create Import Directory: We need to create a directory at the following path:
/home/USER/neo4j_storage/import. This directory will serve as the designated location for storing our CSV files. - Copy CSV Files: Once the import directory is created, we should copy all relevant CSV files into this location. These files will contain the data we intend to import into Neo4j.
docker run --restart always --name=neo4j \
    --publish=7474:7474 --publish=7687:7687 \
    --env NEO4J_PLUGINS=\[\"apoc\"\] \
    --env NEO4J_AUTH=neo4j/neo4j_password \
    --volume /home/USER/neo4j_storage/data:/data \
    --volume /home/USER/neo4j_storage/logs:/logs \
    --volume /home/USER/neo4j_storage/import:/import \
    neo4j:latest
Accessing the Neo4j Dashboard
Once the Neo4j container is up and running, we can access the Neo4j dashboard by navigating to http://IP_ADDRESS:7474 in a web browser.
Important Security Considerations
Security Note: The Neo4j dashboard does not have built-in security features, making it unsuitable for use in a production environment. Even in a local setup, it is crucial to change the default password to enhance security.
Logging In to the Dashboard
Upon accessing the dashboard, you will be prompted to log in using the default credentials:
Username: neo4j
Password: neo4j_password
After entering these credentials, you will be directed to the main interface of the Neo4j dashboard, where you can begin managing your database.
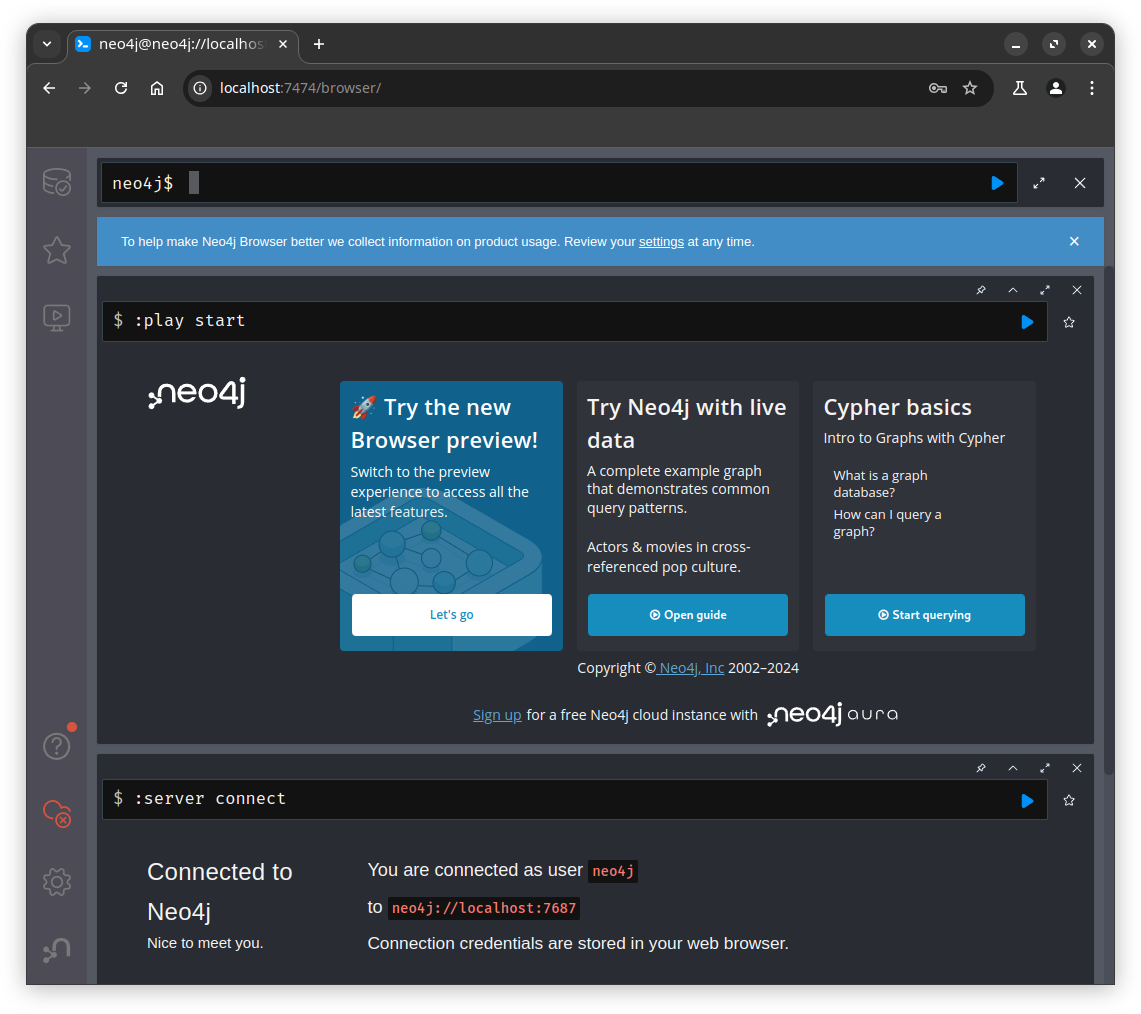
Figure 7.2: Neo4j Dashboard
All data generated and managed by Neo4j will be permanently stored in the /home/USER/neo4j_storage/data directory. For the sake of simplicity in this document, I will utilize the default database provided by Neo4j.
Methods for Importing Data into Neo4j
There are several methods available for importing data into the Neo4j database. You can either utilize the Neo4j dashboard for a user-friendly import process or employ Cypher scripts for more advanced data manipulation. Below, I outline the straightforward steps for importing data through the Neo4j dashboard.
Importing Data via the Neo4j Dashboard
Using the Neo4j dashboard to import data is an intuitive option, especially for users who prefer a graphical interface. Here are the simple steps to follow:
- Access the Dashboard: Log in to the Neo4j dashboard at http://IP_ADDRESS:7474 using your credentials.
- Navigate to the Import Section: Locate the import feature within the dashboard. This is typically found in the main menu or under a specific section dedicated to data management.
- Select Your CSV Files: Choose the CSV files you wish to import. Ensure that these files are properly formatted and located in the designated import directory (
/home/USER/neo4j_storage/import). - Configure Import Settings: Depending on your data structure, you may need to specify how the data should be mapped to nodes and relationships within Neo4j. The dashboard may provide options to define this mapping visually.
- Execute the Import: Once everything is set up, initiate the import process. The dashboard will typically display progress indicators and notify you upon completion.
- Verify Imported Data: After the import is finished, you can run queries in the dashboard to verify that your data has been successfully imported and is accurately represented in the database.
Or from the dashboard, perform the following script to import the data:
Step 1: Import Data from income.csv
First, import the data from the income.csv file and create nodes for each individual. Use the following Cypher query:
LOAD CSV WITH HEADERS FROM 'file:///income.csv' AS row
MERGE (p:Person {name: row.name})
SET p.age = toInteger(row.age),
    p.gender = row.gender,
    p.income = toFloat(row.income);
Step 2: Import Data from education.csv
Next, import the data from the education.csv file and create nodes for each education record:
LOAD CSV WITH HEADERS FROM 'file:///education.csv' AS row
MERGE (e:Education {name: row.name, school: row.school, major: row.major, degree: row.degree});
Step 3: Create Relationships Now that you have both Person and Education nodes, you can create the specified relationships. You will need to establish relationships between income and gender, age, school, and degree. Here’s how to do it:
- Create Relationship Between Gender and Income
MATCH (p:Person)
MERGE (g:Gender {value: p.gender})
MERGE (p)-[:HAS_GENDER]->(g);- Create Relationship Between School and Income
MATCH (p:Person)-[:HAS_EDUCATION]->(e:Education)
MERGE (s:School {name: e.school})
MERGE (e)-[:ATTENDS]->(s);- Create Relationship Between Age and Income
MATCH (p:Person)
MERGE (a:Age {value: p.age})
MERGE (p)-[:HAS_AGE]->(a);- Create Relationship Between Degree and Income
MATCH (p:Person)-[:HAS_EDUCATION]->(e:Education)
MERGE (d:Degree {value: e.degree})
MERGE (e)-[:HAS_DEGREE]->(d);